Saturday, 2 August 2014

Summer Wardrobe Challenge

As summer is here I have been busy making most of my own wardrobe to go on holiday, mainly because all the stuff in the shops is made out of man made fibres and not breathable, and going to Croatia in July and in my first trimester of pregnancy meant I needed some clothes that I felt comfortable in. This is what I made.

Wrap top.


Sorry the photos are a little crap but due to the type of fabric it was quite hard see the layers. I have admired this top for quite a while but couldnt' find a pattern I liked, so I ended up looking at all of them and making up my own. I so far am yet to use an actual pattern. This was also my first time using this satin type material, and it did slip a lot on the machine, but I did manage not to get any puckers, and it was also my first time doing any facing with no instructions and only going on what my sister had previously said.

Colette free Sorbetto Top


I have made one of these before last year, but again due to the material I used I had to change the pattern around. I had had my eye on this pattern for a year and decided to get a metre of it. As this was my first proper time using a pattern it did come up large and my sister had to help me take it in, but it came out really well.


I did change one thing though, I added a box pleat!

The Staple Dress by April Rhodes

For 4 -5 years i have had these 2 dresses from Primark that I love and have looked for a pattern for a while. However it was down to my sister who found this pattern for me. Easy to use, but know me I did change a few things. the pattern asks for pockets, I don't like pockets on floaty dresses as it makes them bulky and it also asks for a french seam? really on a floaty dress, don't be daft. I ended up making 2.


The red one was my first and I did make the neck bigger as the pattern looked like it was too heigh, but I am still not sure on it. I also made he skirt fuller so was more floaty. I wore it on holiday In Dubrovnik and it was a great floaty breezy summer city dress that took me through to the evening. 

The blue dress was  more tricky with the heme, I tried making the skirt fuller but the sides just didn't hang properly so I did have to cut some material off and it hangs a lot better after ironing. Again I made the neck a little lower but not wider.


The sad thing is that since finishing these items I have not touched my machine and don't even want or think about sewing, which just shows that I sew stuff I want to, not clothes! So I am currently self teaching myself crochet.

Sunday, 1 June 2014

Simple Way Monet Messenger Bag

For Christmas my sister brought me the Simple Way Monet Messenger bag 
http://www.simpleway.co.uk

Overall I really enjoyed making it and the kit was really nicely put together with dead simple instructions.


The only issue I had was that the last thing you had to do was add the strap, this should have been the first thing you should have to do as the bag is already together it's a really small space to find the hole and you have to go through all holes twice, so I would defiantly say do this first.

I also decided to add a clasp to my meh bag as I used it for a few days in the vain hope the the flap would sit better, it didn't so I brought one off eBay.


Sunday, 18 May 2014

Cheaters Quilting Appliqué Dog Travel Mat.

As from my last post I said I would share with you my first cheat appliqué quilt doggy mat. I got the idea from a Pinrest post that lead to to blog. I have no idea what I would do with out Pinterest in my craft life.


As you can see I made straps at the bottom of my ruck sack to hold the mat in place, I also spared in mind the width of the rucksack and doubled it for the width of my mat so I knew it would fit.


The first thing I did was I measured the pattern paper and drew a template, I would be lost without a template. I transferred this on to my material giving an few inches and more for the wadding, I used a  7oz wadding, so nice and thick when you sit on it. I stitched them all together. My singer 201k was great with this, I thought the wadding would get caught in the feeder tether but I lessened them off and it slid through.


I then trimmed away the excess.


And turned the right way round and hand finished the gap.


I then did two rows of straight stitching around the edges. I found this pretty hard.


For the bones I again had to make a template, I also had to make sure that I interfaced it before cutting as so the edges didn't fray, it then got pinned and sewn. I know it's a little rough but for my first time I am really pleased as I was still using my Tedder teeth and I didn't have a free motion quilting foot.


Thursday, 17 April 2014

The Singer 201 did it. Hessian / Burlap Satchel Rucksack.

For a few months now I have been planning to make a bag to take on holiday with me that can be carried on my back with no other handbags or bags. I didn't really know what I wanted, but on a recent trip to the NEC in Birmingham sewing for pleasure expo I stumbled upon some burlap/hessian and straight away knew I wanted to make an old satchel. This is the pic of what it turned out to be, only took 20 hours of sewing!

I own a singer 306k and 201K, I decided to use the 201 as i could use a leather needle for it that I cant get any more for the 306.


So how did I do it?

I had a sketch book with me for few weeks, where i could sketch ideas and start to write the instructions of how I was going to make it.
I drew out a rough pattern in my sketch book and started to figure out the measurements, and pieces I would need. 

I decided on trying to make it out of one huge section as possible as I didn't want it to fray or loose its shape.


I then when about drafting the pattern, it used about 2 metres of pattern paper.


This was all the materials I had brought over the past few weeks, I think it totalled to around £100.
2 metres boning (sew-able, I love this stuff)
X2 22inch zips
2metres of hessian/burlap
1.5metres lining
A4 clear plasitic
2 metres webbing
2 metres wadding
2 metres of bias binding
4 ladder locks
6 metal eet
2 clasps
50cm velcro
                                                                 X4 30m metres thick top stick thread
                                                                 2 metres medium interfacing
                                                                 50 cm Iron on waterproofing stuff?
                                                                 50cm bag stiffner
                                                                 5 A4 sheets of 7 count plastic 


I ironed on the interfacing onto the Burlap in one whole piece. 

Pinned the pattern.

Cut the pattern, when cutting I used a water spray gun as I didn't want the burlap dust getting everywhere.


This was the flap of the satchel that I sewed 2 strips of polyester rigford boning into and then measured the bag stiffener and double sided tape onto the bag to help keep in place after sewing in the lining.


As you can see I left gaps where the boning was in relation to the bag stiffener as I wanted it to fold nicely.


I then attached and made loops for the buckles.


I then cut the lining, pinned,  I had to leave some room at the top so that it could be turned inside out, right way round, then did 2 lines of top stitch.


Not that bad. One annoying thing was that as the top stitch thread was thicker it took ages to find the correct tension, so the ticker the thread the higher the tension is something I learnt the hard way.


Next was the straps. I had right sides of lining fabric and hessain together and stitched 8oz wadding onto it, leaving the top and bottom free to be turned the right way round.


I had to use a chop stick to turn it the right way round, had to be careful though as I dint want to stretch the hessian.


I then decided to thread the webbing through the whole strap, in part because I didn't want it to loose its shape or strength when being used, so I used the chop stick again to help.


I then took the rest of the wading out of the end and stitched it up.


I attached the webbing onto the flap and stitched the webbing only, not the bulk of the strap.

At the same time I also attached the bottom straps to the back of the bag.


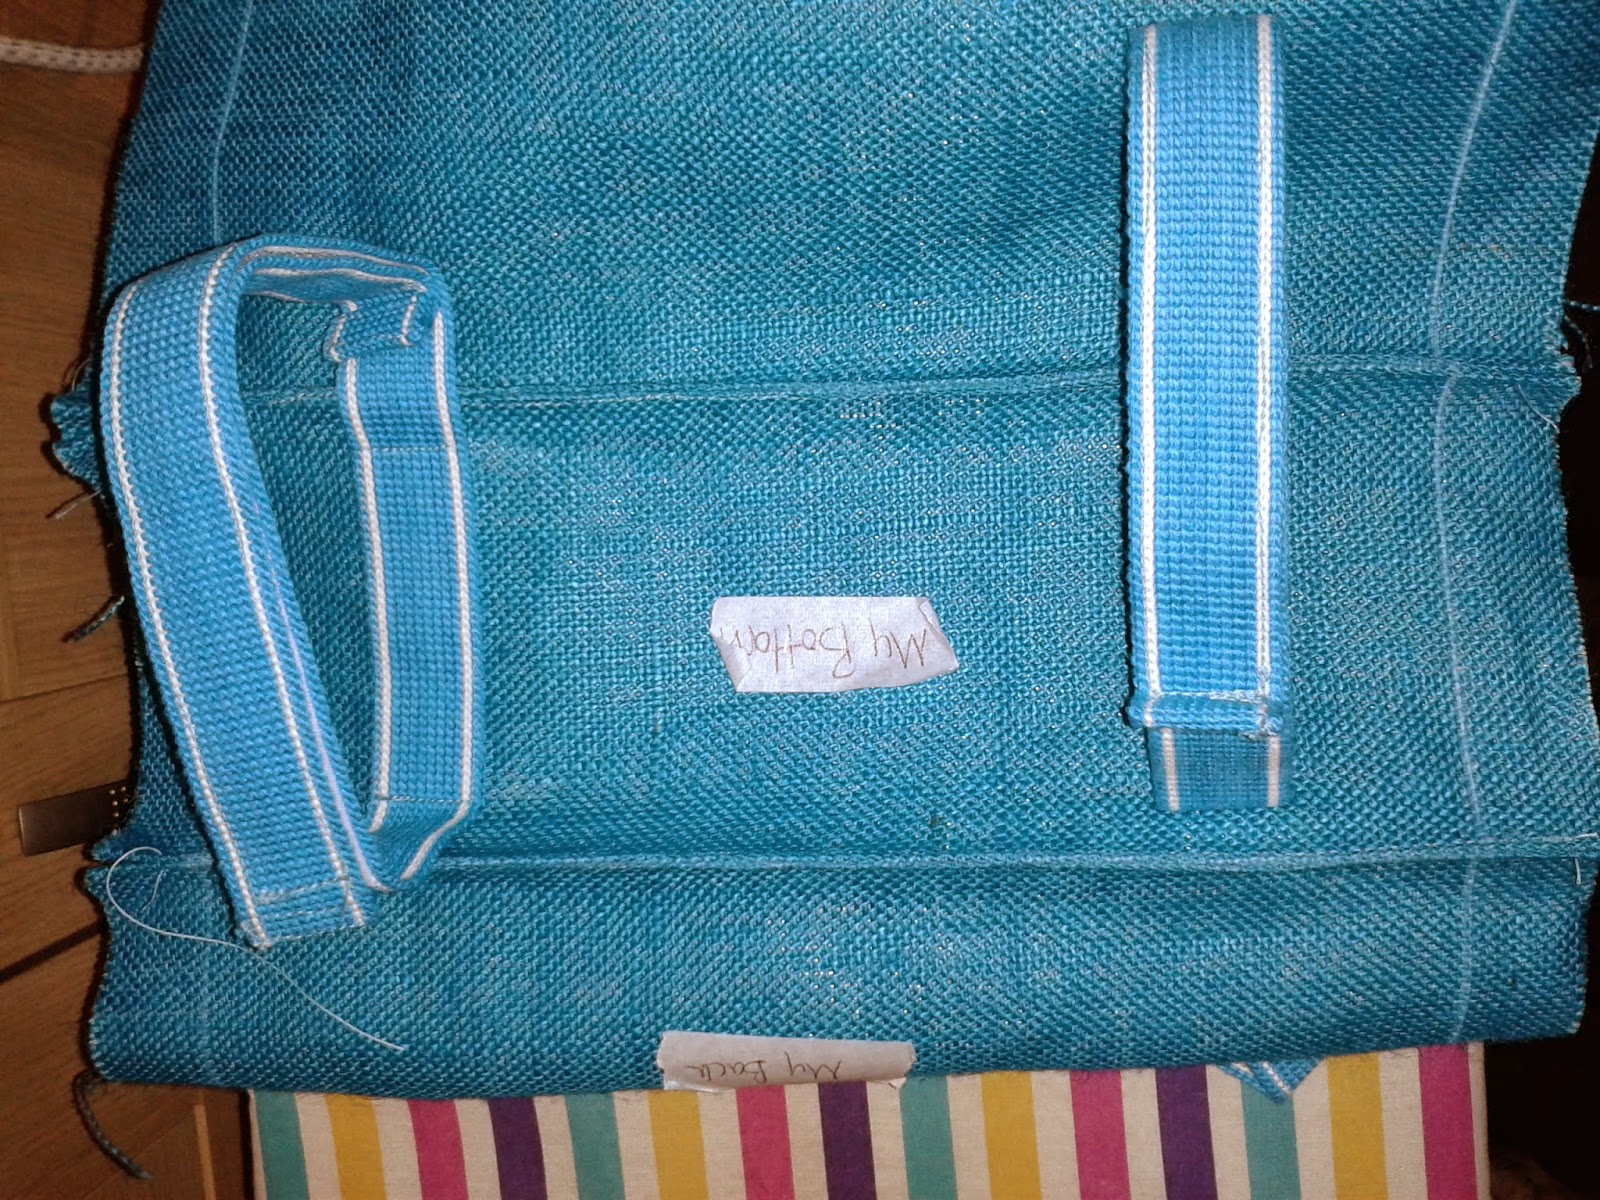
I then went about using making tape as a label marking out all the different parts of my bag, I also chalk lined it all so I knew what when where as it was all done in one huge piece.


Here I made the back pocket that will hold the dogs water bowl, I wanted it to be waterproof inside and out so that I didn't get a soggy back.

I cut 2 pieces, the main pocket and the side extender.
I ironed on waterproof matt stuff to the front and I also cut some clear flexible plastic for the inside and pinned on. 

I then had to pin and sew the extender and then top stitch along the top. 

As you maybe able to see I also ironed it so that when not in use it folder closer to the bag.


I then pined and stitched the pocket on, this also hid the bottom attachment of the straps.


On the very bottom of my bag I wanted to make some velcro straps that could hold a blanket for the dogs to lye on, this also double as a good way to carry any extra stuff I may purchase while out and about on holiday.


 then stitched on these straps making sure the the hocks of the velcro were facing away from the inside as I didn't want it to catch on the blanket I was going to make.


I also decided to attach the front webbing with buckles and strap ladders to the front.


Now to add the boning to the main part of the body of the bag. I had left my self 1 inch space to do this and ironed it first to make a 'V' shape that my boning could sit into. My boning was shorter than the height of my bag as I wanted it to be easier when I stitched it all together.


You can see the effect the boning has, although on;ly 7mm wide and using 4 layers of hessian it gives it the strength it needs to keep its shape.


On the bottom of the bag where the webbing is to hold the blanket I used the rest of the bag stiffener and double sided it so that it would help keep it in place when working with it, It also made good support for the metal bag feet I used.


This was the bit I was not looking forward to the zip. But I have to say that I tried really hard and I am really pleased with how it turned out. My only issue now that I have made it is that the pattern needs to be turned 90 degrees. 


I had to stitch the main bod of the bag together making sure that all sides had boning in it.


I then went about making the lining of the bag, no zips, pretty easy.


Again another bit I was dreading, making sure that when I stitch this in it stays straight, I took the precaution of ironing it over to make life easy, the seam should loo the same as on the sides where I have inserted the boning, each seam folded over and then top stitched.


Phewww, not a bad job, I also bias binded the raw edge, thank god the 201 could do it, esp on the corners.


squareish and pretty straight.


On the bottom section of my pockets I stitched in the sides, suing the same methods as I had used on all of the other seams, with or without boning. On these seams I didn't use boning.


As I said before when I was sewing in the top zip, I was not looking forward to it, so debated with the front exposed zip on whether or not to hide it. I decided to hide it as my last ever top stitch would go above the zip and could look messy, so I made this flap to cover the zip. It was basically a strip sewn inside out then turned the right way round, pinned and stitched on.


I then pinned in the zip. I was again very worried about this as I really wanted the zip to match up on the top join. Then I stitched, very hard as the corners were quite solid


Between the bottom section and top section I left a 1 inch gap, this was quite tricky to sew with the bag getting bulker. I also had to make sure that the bottom part of the bag, the part that separates the sections was in there in the seam.


I then had to zip the zip up and attempt to sew the material that splits the 2 sections to the zip. I had to leave more material than any other seam as this was going to be the last seam that joined the whole bag together.


Not a bad straight line, Now to sew these 3 edges together with the rest of the bag. But first I had to cut the 7 count plastic (slightly small er than the actual size of the bag) and I did a stitch to hold it in place.


This is the 7 count plastic.


I am dead chuffed with it. The blanket you can see matches, which I will show and tell in the next blog.


 I used my lining for the underside of the straps just in case I had a strapless top on and the burlap rubbed, or the dye rubbed off onto my clothes.